
Pro Tips with Esben #10
This week I have something special, my first guest post. Our very own Sysadmin at Lansweeper approached me to use this platform to share how he uses Intune to deploy LsAgent in our own environment. If you’re starting out with Intune or haven’t used it yet for the deployment of LsAgent this should be of great value to you!
LsAgent – What is it?
Since most of you will already have some idea of what LsAgent is, I won’t drag this out. LsAgent is our scanning agent that can scan Windows, Linux, and Mac devices both locally (via a direct connection) or remotely (via our cloud relay server). If you’re not familiar yet with LsAgent I recommend growing through the LsAgent documentation.
Preparing LsAgent for Deployment
In a large environment, you don’t want to ask every user to manually install LsAgent, it wouldn’t even be possible if the appropriate security measures are taken and your users don’t have admin privileges.
To achieve this we will add LsAgent as a Win32 app to Microsoft Intune, before you can do that you must prepare the app by using the Microsoft Win32 Content Prep Tool. This tool converts application installation files into the .intunewin format.
Before you get started:
- Download the IntuneWinAppUtil.exe
- Download the LsAgent client for Windows from this download page.
- It’s recommended that you update your Lansweeper installation to the latest version.
- In Lansweeper, copy the relay authentication key listed under ScanningCloud Relay Configuration
- Copy the IP Address or DNS Name from your Lansweeper scanning server
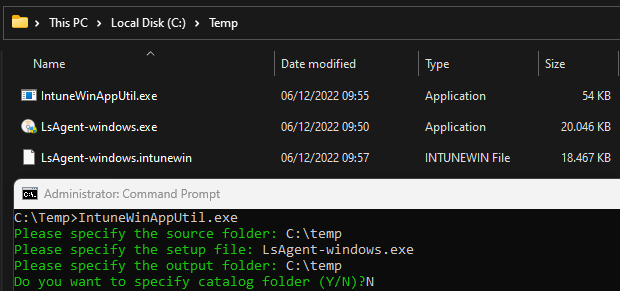
Step 1 – Creating the .intunewin file
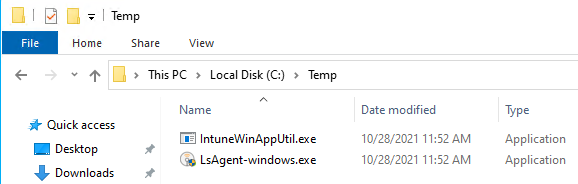
The first step in creating our .intunewin file is to create a temporary folder, I’ll create C:Temp and place both LsAgent-windows.exe & IntuneWinAppUtil.exe in it.
Next, Open CMD as an administrator and run IntuneWinAppUtil.exe, now fill in the required parameters to create the .intunewin file.
Step 2 – Upload the installation file in .intunewin
To upload your install file, open your Microsoft Endpoint Manager admin center and upload the .intunewin file as a Win32-based app.

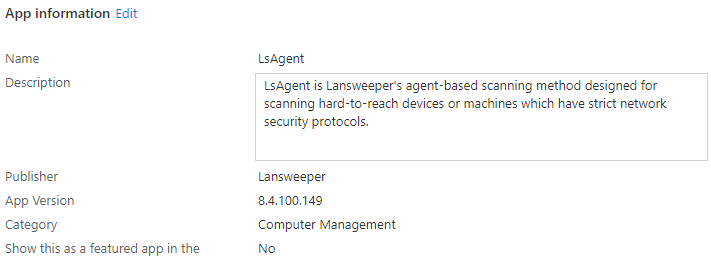
Step 3 – App configuration
Once your file has been uploaded to Microsoft Endpoint Manager, make sure to fill in the app information.
Next, we need to specify the commands to install and uninstall this app:
Install command
LsAgent-windows.exe --server LAN-001 --port 9524 --agentkey 4c2db649-014a-41f5-a01d-08950d7af --mode unattended
Uninstall command
"C:\Program Files (x86)\LansweeperAgent\uninstall.exe" --mode unattended
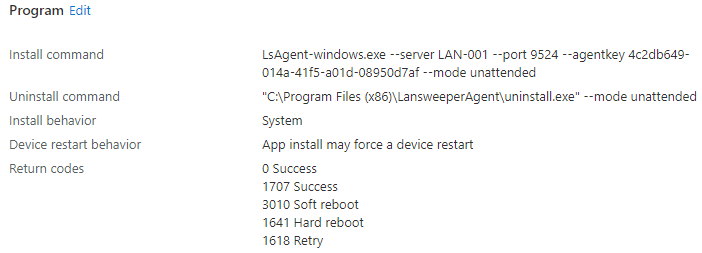
If you’re interested in customizing the install or uninstall command, we’ve got LsAgent parameters knowledgebase article with all parameters you can use.
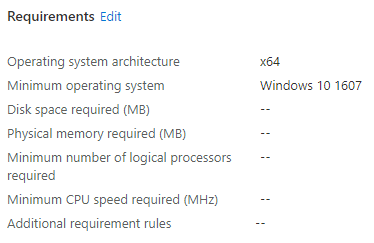
The next step in our setup is to fill in the requirements, depending on which machines you want to deploy LsAgent on, you can obviously adjust this to your needs.
Once the requirements are set and configured how you need them, we can create the detection rule.

We won’t be using Dependencies & Supersedence, so all that is left now is to assign the app to your users or devices. And that’s It! Everything you need to know to successfully deploy LsAgent using Intune.
Once your deployments have finished, you can also take a look a the LsAgent version report to get an overview of all your assets and the LsAgent version they are using.