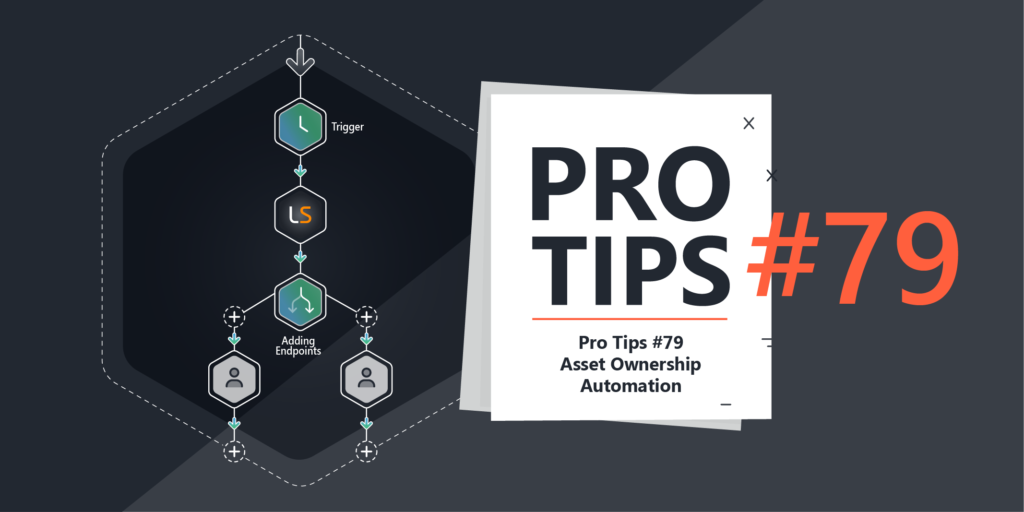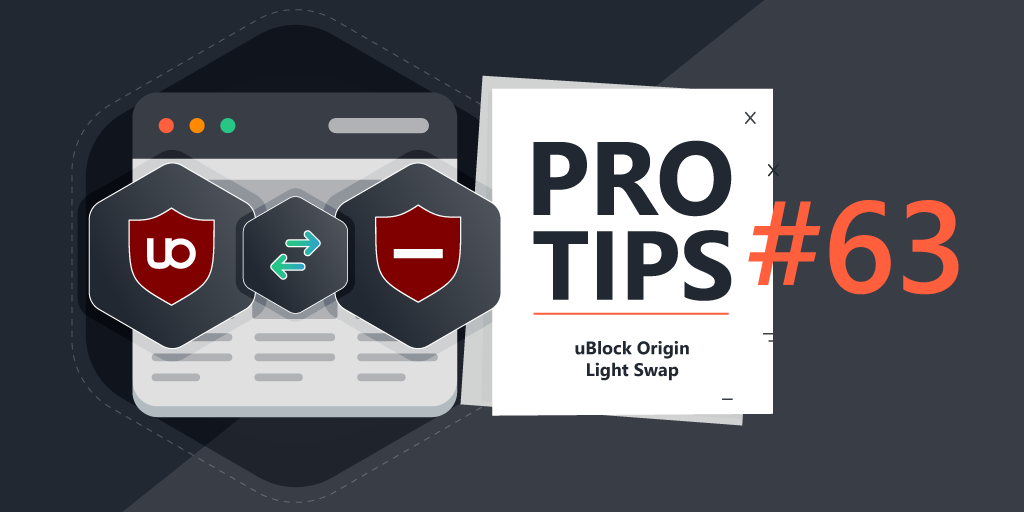
Pro Tips #63
This month, inspired by a Reddit thread, I thought I’d explore the swap that many have already or will be doing soon due to Google’s changes to it’s ad-blocking policy. I’ll showcase how you can monitor browser extensions and the policies they use and showcase a compliance report to aid in switching from uBlock Origin to uBlock Origin Light.
Why is uBlock Origin Changing?
The switch from uBlock Origin to uBlock Origin Lite is happening due to changes in the Chromium extension framework. Google is enforcing Manifest V3, a new extension standard that limits the functionality of traditional ad blockers like uBlock Origin, which relies on Manifest V2. Because Manifest V2 is being phased out, uBlock Origin can no longer function properly in Chromium-based browsers like Google Chrome and Microsoft Edge.
As a result, uBlock Origin Lite was developed as a replacement. It works within the restrictions of Manifest V3 but lacks some of the advanced features of the original extension, such as dynamic filtering and script-blocking. While it still provides ad and tracker blocking, it is less powerful than the original version.
One option is to switch the another browser like Firefox, but for many, this isn’t really an option they can enforce. So most of you will have to migrate from uBlock Origin to uBlock Origin lite.
Google is phasing out Manifest V2 (MV2) extensions in Chromium-based browsers. In October 2024, MV2 extensions were disabled in the stable version of Chrome, but users had a temporary option to re-enable them. By February 2025, MV2 extensions will be disabled by default, with limited ways to restore them. Finally, in June 2025, MV2 extensions will be permanently removed, including for enterprise users. Developers and users should migrate to Manifest V3 (MV3) before the final cutoff.
Deploying uBlock Origin Lite
How you choose to deploy the new extension, I’ll leave up to you and you favorite method/tool. But in this Pro tip, I’ll be using the registry keys provided to deploy and manage browser extensions. One thing I did notice, is that these registry keys are case sensitive! Something to keep in mind for your deployment.
Before we get started, some base knowledge. You can find the browser extension IDs in various ways, I prefer just taking it from the URL on the store:

Here are the ID’s for the different browsers and extensions:
- Chrome uBlock Origin Lite: ddkjiahejlhfcafbddmgiahcphecmpfh
- Chrome uBlock Origin: cjpalhdlnbpafiamejdnhcphjbkeiagm
- Edge uBlock Origin Lite: cimighlppcgcoapaliogpjjdehbnofhn
- Edge uBlock Origin: odfafepnkmbhccpbejgmiehpchacaeak
ExtensionInstallForcelist
This registry key forces the silent install of whatever extension you provide it, perfect for our use case. All you need to do is deploy the key and add the following value depending on your browser. The registry values name within this key are just a numbers starting at 1 that increment.
Chrome
- Key: HKLM\SOFTWARE\Policies\Google\Chrome\ExtensionInstallForcelist
- REG_SZ: ddkjiahejlhfcafbddmgiahcphecmpfh;https://clients2.google.com/service/update2/crx
Edge
- Key: HKLM\SOFTWARE\Policies\Microsoft\Edge\ExtensionInstallForcelist
- REG_SZ: cimighlppcgcoapaliogpjjdehbnofhn;https://edge.microsoft.com/extensionwebstorebase/v1/crx
ExtensionInstallBlocklist
This key block the usage and installation of a specific browser extension, in this case the original uBlock Origin. The registry values name within this key are just a numbers starting at 1 that increment.
Chrome
- Key: HKLM\SOFTWARE\Policies\Google\Chrome\ExtensionInstallBlocklist
- REG_SZ: cjpalhdlnbpafiamejdnhcphjbkeiagm
Edge
- Key: HKLM\SOFTWARE\Policies\Microsoft\Edge\ExtensionInstallBlocklist
- REG_SZ: odfafepnkmbhccpbejgmiehpchacaeak
Policy
The policy key can be used to define specific policies for a specific browser extension. The most useful policy is one to disable the first run page, to avoid confusion for users. Secondly, you can also add domains to a whitelist so the extension avoids blocking elements, useful for excluding work-related domains like office. However for today’s example its just optional.
- Chrome Key: HKLM\SOFTWARE\Policies\Google\Chromerdparty\Extensions\ddkjiahejlhfcafbddmgiahcphecmpfh\policy
- Edge Key: HKLM\SOFTWARE\Policies\Microsoft\Edgerdparty\Extensions\cimighlppcgcoapaliogpjjdehbnofhn\policy
- REG_DWORD: disableFirstRunPage
- Value 1 or 0. A value of 1 will disable the first new tab popup when the extension installs for users if needed.
- REG_SZ: noFiltering
- This is the main filter list configuration where you will add your websites that you want custom filters for (ie: disabling uBlock). Format: [“www.lansweeper.com”,”microsoft.com”]
Setting Up Scanning
Next up is configuring the scanning within Lansweeper. We’ve got an entire knowledge base article on it if you’re completely new to it. However, all you need to do is configure the scanning of the keys and values listed above.
The main thing to keep an eye on during the configuration of the scanning is that the value names of the Forcelist and Blocklist are using the correct number if you have multiple extensions that you are forcing or blocking. Alternatively, you can also just scan values 1-5 (or more) by duplicating the configuration.

Lastly, if you want to check currently installed extensions, a some time ago in one of the earlier Pro Tips, I showed how you can get a list of currently installed extensions, in Pro Tips 33.
Reporting, Compliance and Dashboards
Finally, we arrive to the main component. Now that scanning has been configured, we can start checking which devices have meet our requirements. Lets first start off with what those requirements are:
- Devices use a Windows Client OS.
- Is uBlock Origin Lite forced.
- Is uBlock Origin blocked.
- Is uBlock Origin not forced.
- Is uBlock Origin Lite configured to without a first run page.
To check all of these conditions I’ve created separate reports for Chrome and Edge. To make these reports more flexible, I created them in a way where you can easily customize them for either general reporting or using them in dashboards.
In short, at the bottom of each report, you can choose whether you only see the results of devices that meet all conditions, do not meet the conditions, or you can simply remove the filter all together by deleting the line to see both.


The default reports only shows devices that do not meet the requirements:
Dashboards
Moving on to dashboards, this is where the flexibility of the reports comes to light. If you’re using the Report Overview and Numbers widgets in a Cloud dashboard, or the Alert Reports widgets on-prem, you’ll likely want to use a version of the report that only shows non-compliance.


As seen on the on-prem dashboard I snuck some graphs in there: