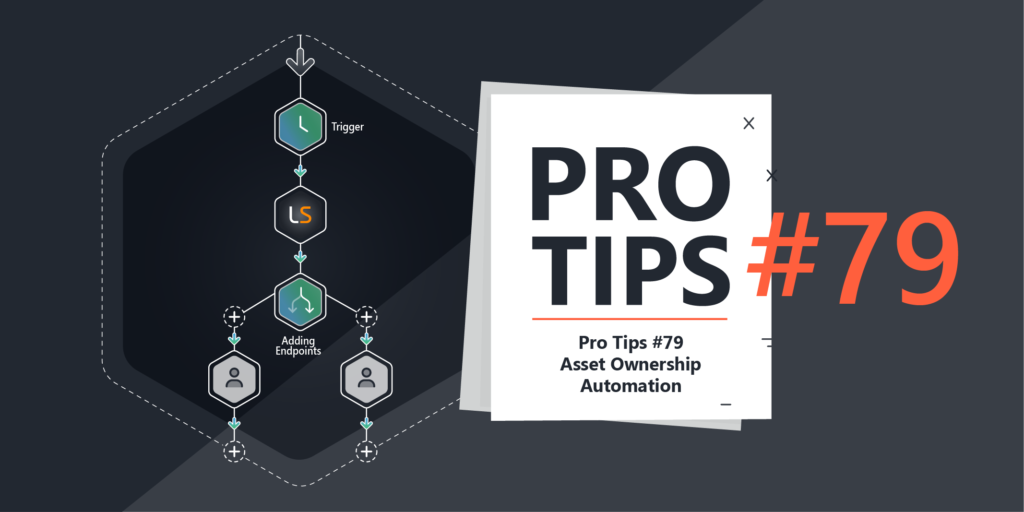
Pro Tips #79
Asset ownership is one of the key data points many struggle with, whether its for managing incidents, performing changes, recuperating endpoints or just maintenance knowing who owns and uses a device is critical. This week we look at new ways you can automatically assign ownership to devices.
Ownership in Lansweeper
Lansweeper has always had the option to create ownership relations between users and assets, but these have for the most part been manual. Even though Lansweeper has both a record of the last logged in user and also a historical view of logons over time. For today I will cover two scenarios for assigning ownership, which one works for you, is up for you to decide.
Scenario 1: Last user
Scenario 1 is based on the last user. This means we assume that the last user is an owner (or co-owner) of the device. Every time the asset is updated, we’ll do a check to see if the last user is also listed as the owner with a relationship that is still valid.
Pros:
- Check is performed every time an asset is updated.
- Every logged in user scanned by Lansweeper gets an ownership relation, allowing you more easily identify shared devices.
- No additional components required.
Cons:
- No one single owner record. Possible ambiguity.
Configuration
In your Lansweeper site, navigate to Flow Builder and look for the template “Asset Ownership – Last User”. Open the template and read the documentation (document icon in the top left in the editor). Enable the workflow.
Scenario 2: Last Logon
Very similarly named, Last Logon is the overview of logons that Lansweeper recorded during scanning. This will have more historical information making for a slightly better source for determining one single owner. Using this history, we can check which user has the most logons in a given period, and make that user the owner of the asset.
This scenario relies on the new dashboards to fetch last logon information.
Pros:
- More accurate calculation of ownership.
Cons:
- Requires multiple component setup.
- Runs on a set interval.
Configuration
This one requires a but more configuration since it relies on a BI dashboard, and we will be making this process a lot easier in the future.
In your Lansweeper site, navigate to Flow Builder and look for the template “Asset Ownership – Logon Info”, open it, take a look at the documentation (document icon in the top left in the editor). Lastly enable the workflow (it won’t do anything yet).
Next up, start by creating a new BI dashboard, and adding the regular table widget. If you cannot find this style of dashboard, make sure use the “Try new dashboard” button or try the new UI altogether.
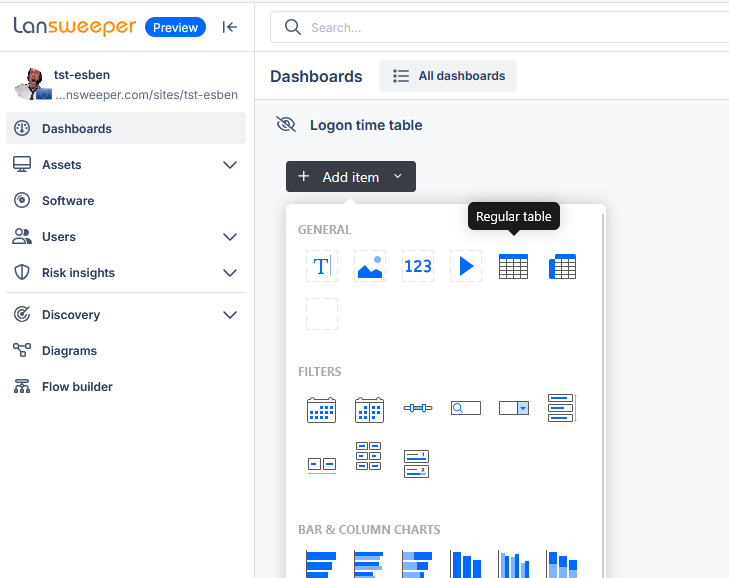
Next, from the “Asset” dataset on the right, select drag in the following fields in order:
- Asset Name
- Last Logged User
- Last User Domain
- Last Login Time (min)
- Asset Key
Next mouse over your table and click on the “Data” button in the top right.
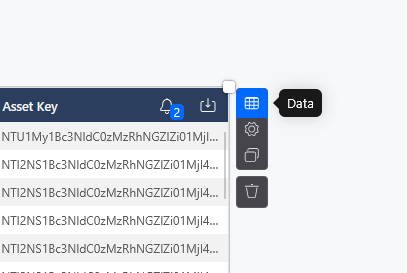
In the same corner, click “filters” which will give you the filtering options for your table.
Next select the following filters:
- Last Logged User – is not missing
- Last Login Time – last ( x ) (periods) – 30 – days
The last filter can obviously be adjusted to however far into the past you want the automation to look when it decides who the primary owner is.

Click “Apply Filters”. Optionally, you can still rename the dashboard in the top left and close the editor in the top right.
Next, we’ll need to set up a webhook alert. Use the bell icon in the top right of the table to open the notification settings.

Configure your alert exactly as shown below.
- Adjust the trigger to 0
- Select the following categories in this exact order:
- Asset name
- Last Logged User
- Logged User Domain
- Last Login Time (adjust the unit of measurement to minute)
- Asset Key

Next you can choose what the interval is the workflow is triggered by this notification. Additionally you will need to create a new channel.


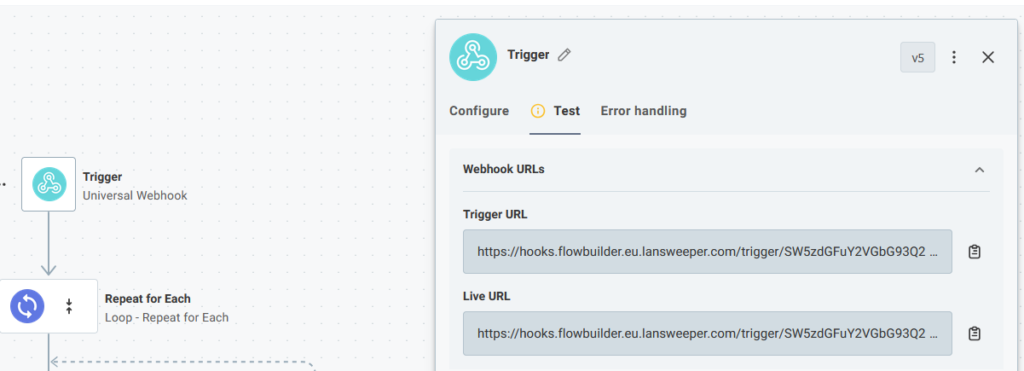
To find the Webhook URL, open the workflow, select the trigger action and view the Test tab. Here you will find two webhook URLs.
- Trigger URL – the URL for testing
- Live URL – the URL for when the workflow is enabled. This will only be visible after the workflow has been enabled.
Use the Live URL in the webhook alert of your dashboard.
The moment you finish creating your dashboard, alert, it will immediately trigger once. So you should be able to see the results in the live tab of the workflow.

Coming Soon™
Both of these workflows only rely on Lansweeper data. However, I am aware that many prefer using other sources as their primary source for ownership, for example Intune. Don’t worry, this is only version 1 of this ownership saga. Keep your eye out in the future for updates or new workflows that also include additional sources to determine ownership.
In the meantime, if you have suggestions, you’re always more than welcome to share it on our subreddit.