Pro Tips with Esben #42
For a long time there has been interest in combining Lansweeper with remote desktop manager (RDM) tools. This makes a lot of sense when the one thing a remote desktop tool needs is a list of all your devices along with their details to connect to them. This month I dive into how you can use your Lansweeper data in those types of tools, specifically Devolutions Remote Desktop Manager.
Update: Devolutions created a official Lansweeper integration
Lansweeper used to come with a remote desktop tool, something we called LsRemote. A customized version of UltraVNC. However, it was deprecated on April 2, 2020. Lansweeper continues to offer remote desktop functionality in the form of a custom action using the MSTSC command, which uses the built-in Windows Remote Desktop functionality. However, this leaves a big blind spot in the modern hybrid word environment, along with a lack of functionality that other tools do provide.
Remote Desktop Manager Tools
Going off a recent Reddit topic, Devolutions’ Remote Desktop Manager along with mRemoteNG seem to be the favorites there. Both are great tools and are slightly different. Where mRemote is great due to its simpler configuration, Devolutions’ RDM has more options in how you manage all your remote sessions and is also better suited for IT teams to use it. This month I’ll just focus on Devolutions’ RDM.
Adding Lansweeper Data to Devolutions’ Remote Desktop Manager
There are 2 ways to import Lansweeper’s data in Devolution’s Remote Desktop Manager. Officially, the only method is by using the CSV import option. This can be done quite easily by creating a report in Lansweeper and exporting it, and adding the correct headers to the CSV file.
The alternative is to create your own custom integration. If you have the paid version of the Remote Desktop Manager, you can use an SQL Server database as your “Vault”. It so happens that this opens the door to taking data from the Lansweeper database and transferring it to the Remote Desktop Manager database.
Custom Integration Prerequisites
Before you get started, it’s important to know a few things.
- This is (obviously) unsupported. If you run into issues, corrupt a database, you’ll be on your own.
- You’ll need to have an RDM installation that uses a SQL Database. This requires the paid version (or trial).
- This guide assumes the databases are in the same instance. If this is not the case, you’ll have to do the required configuration and adjustments (E.G. creating linked servers).
- The integration queries need to be adjusted to refer to your specific RDM database name.
- Your IP locations in Lansweeper have to configured.
Data Transfer Scripts
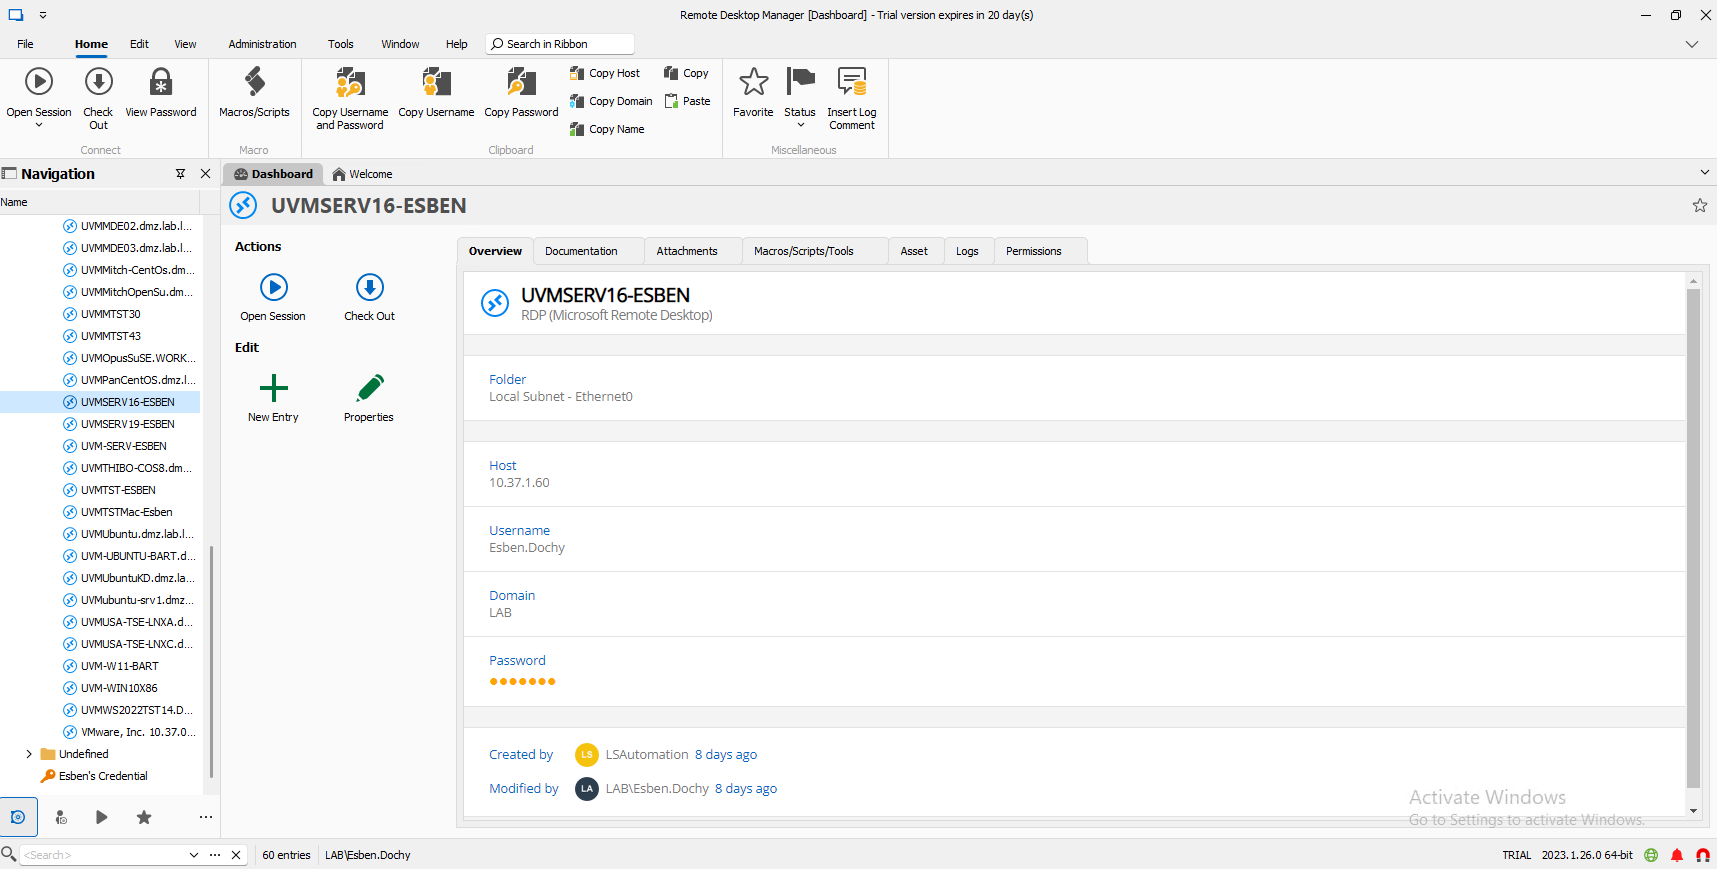
I created two scripts. One to migrate all Windows, Linux, Unix, and Mac devices (based on the asset type in Lansweeper). And one script to use those asset’s IP Locations to create folders/groups. These scripts will only import new assets or IP Locations. All Items imported will be easily identifiable as they will be created by the user named “LSAutomation”.
Group & Asset Import Script
The group import script will import IP locations as groups as long as the name of the IP location doesn’t exist as a group name in the RDM database.
The asset import script will import assets into the RDM as long as the asset name and IP Address combination do not already exist in the RDM database and where the asset in Lansweeper has a value in the “Last Seen” field to ensure only successfully scanned devices are imported.
The queries do refer to the RDM Database with [devo RD].[dbo]… For the queries to work in your environment, you’ll need to adjust this name to the name of your RDM database.
This is a pretty basic way to create a custom integration. It serves more as an example of what is possible and is a starting point for you to create something that really fits your environment. You can adjust the SQL queries to limit it to only your servers, for example, or create additional queries that perform updates to existing devices and more. As you might have noticed, there is no update script included at this time, so any changes in IP addresses will likely result in a new device being added instead of the IP address being updated.
Configuring a Scheduled Job
Using the SQL Server Agent, we’re able to use the above script to create a scheduled job. This job runs the two scripts on a set schedule, for example, every day at noon.
Setting this up is pretty self-explanatory if you have the two scripts. All you need to do is open your SSMS, connect to your DB instance, and navigate to the SQL Server Agent in the object explorer. Right-click on the jobs folder to create a new job. You can also watch the video if you want to see the whole process.